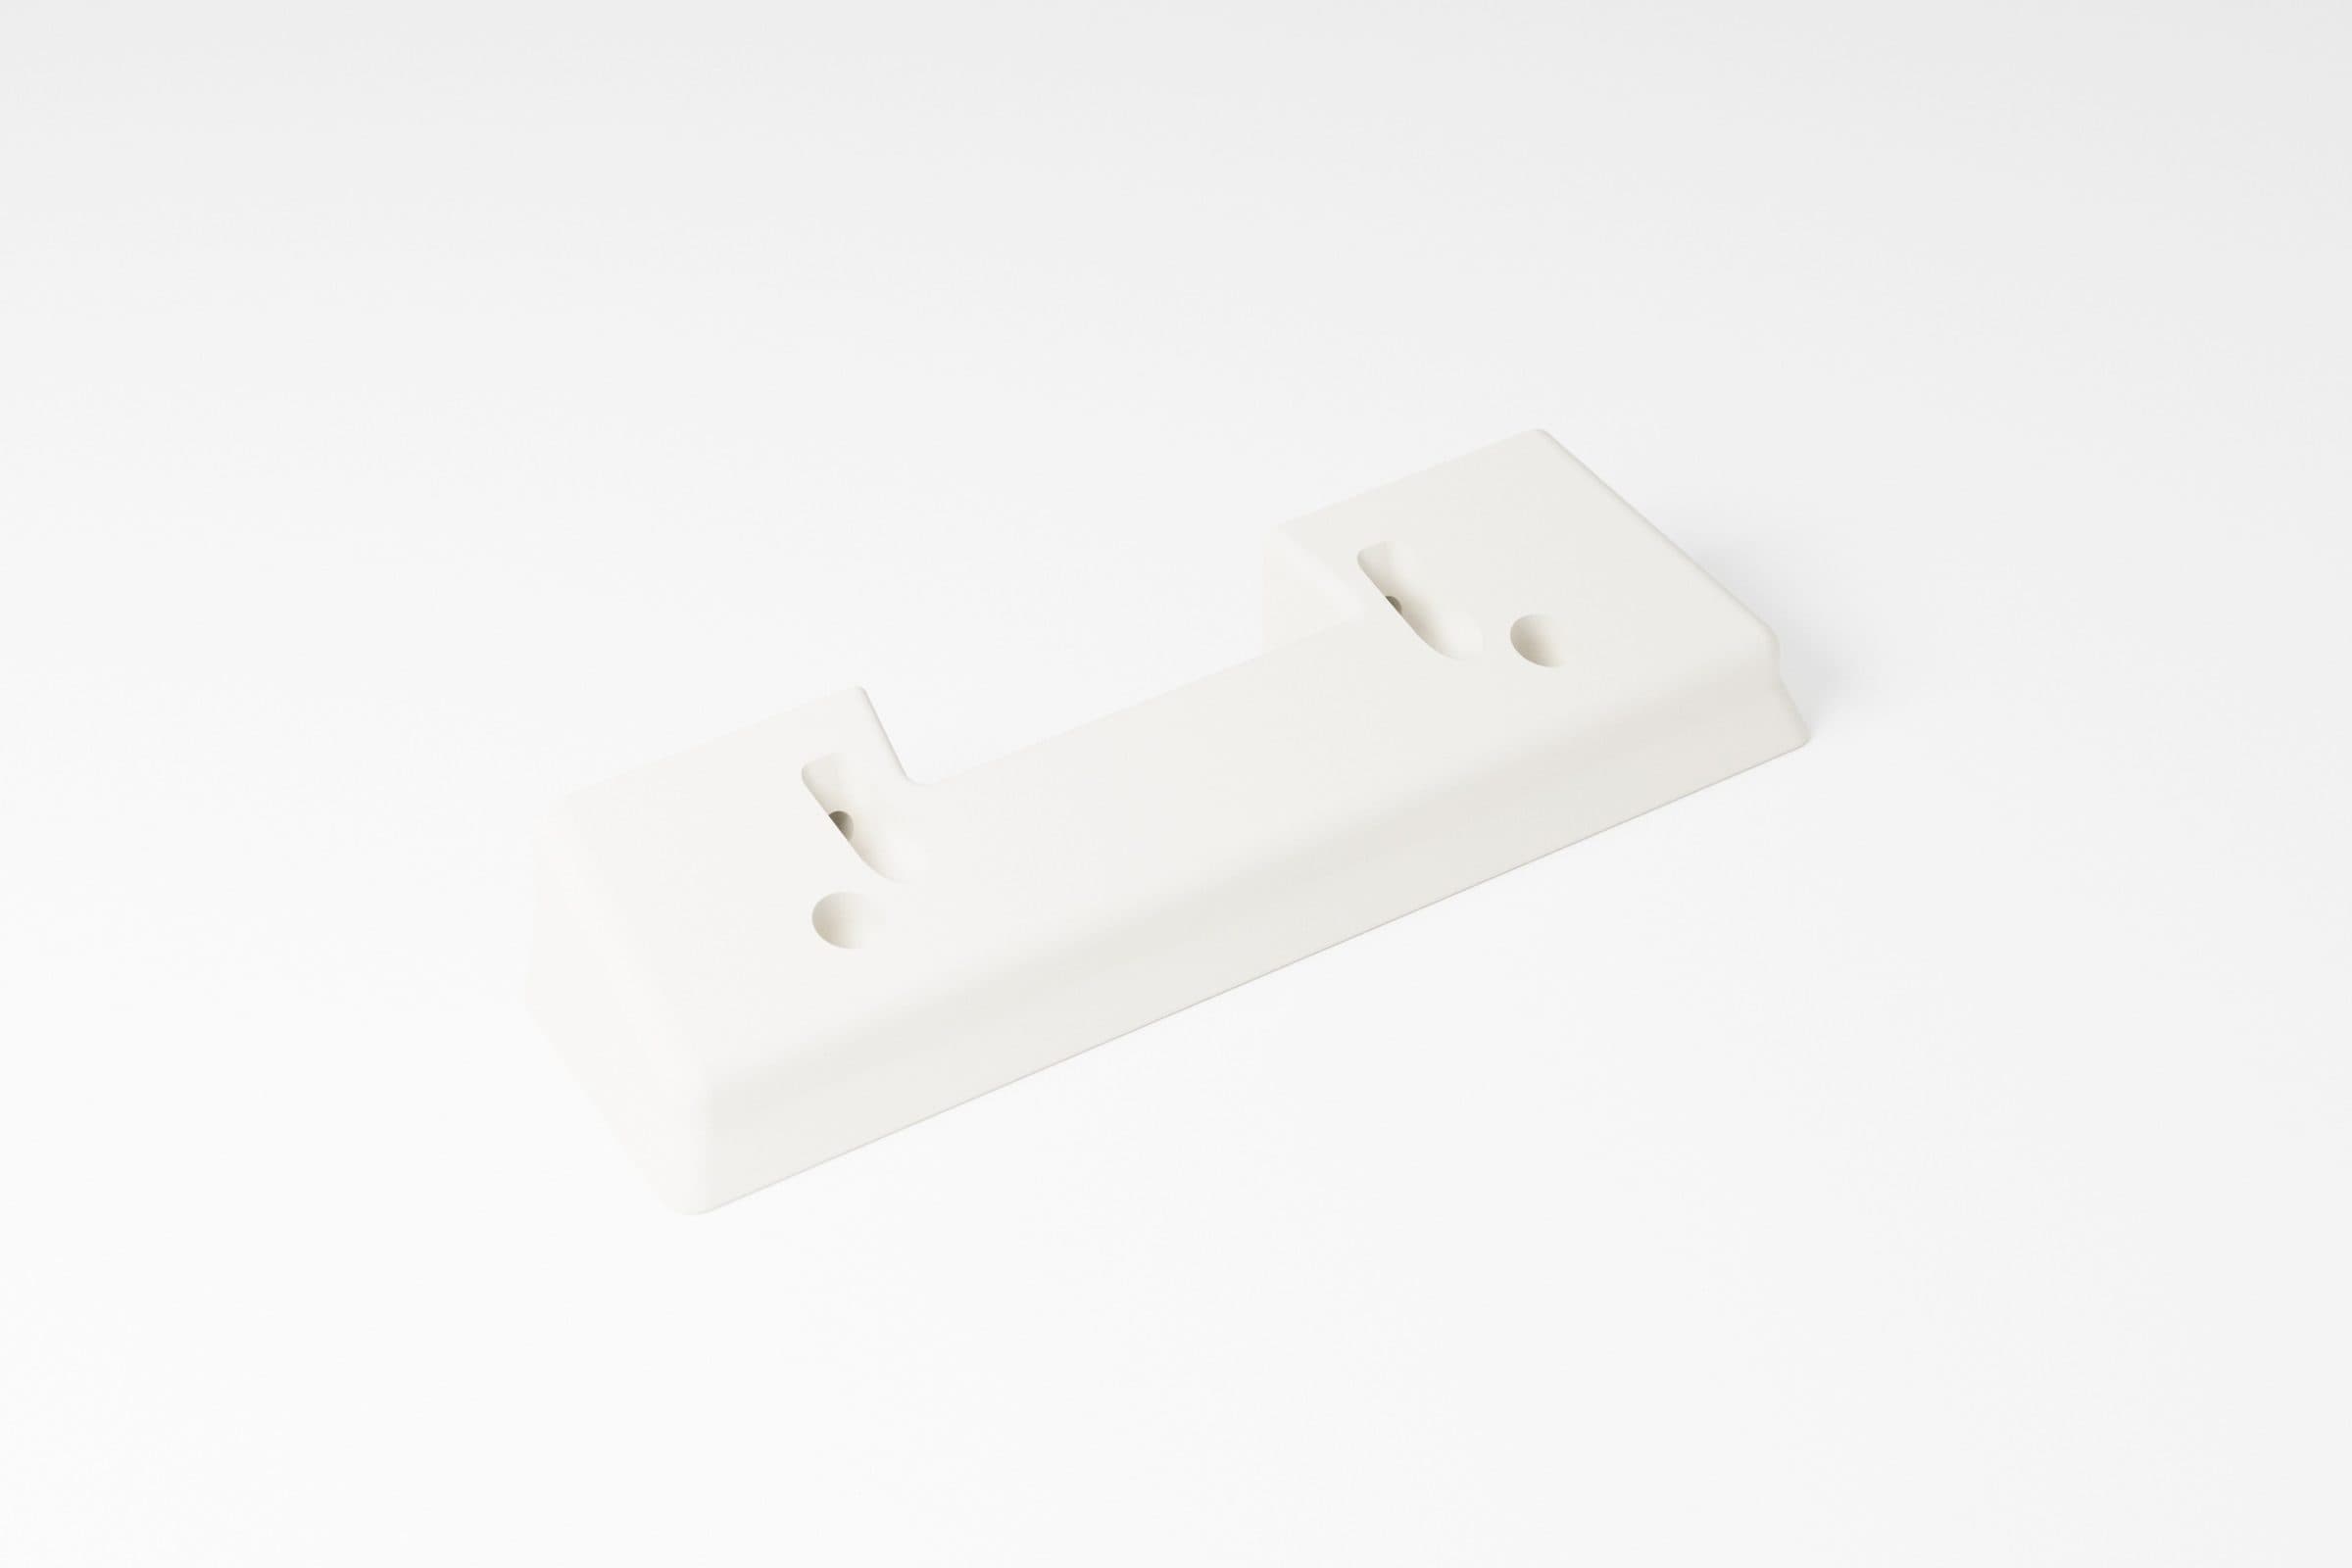
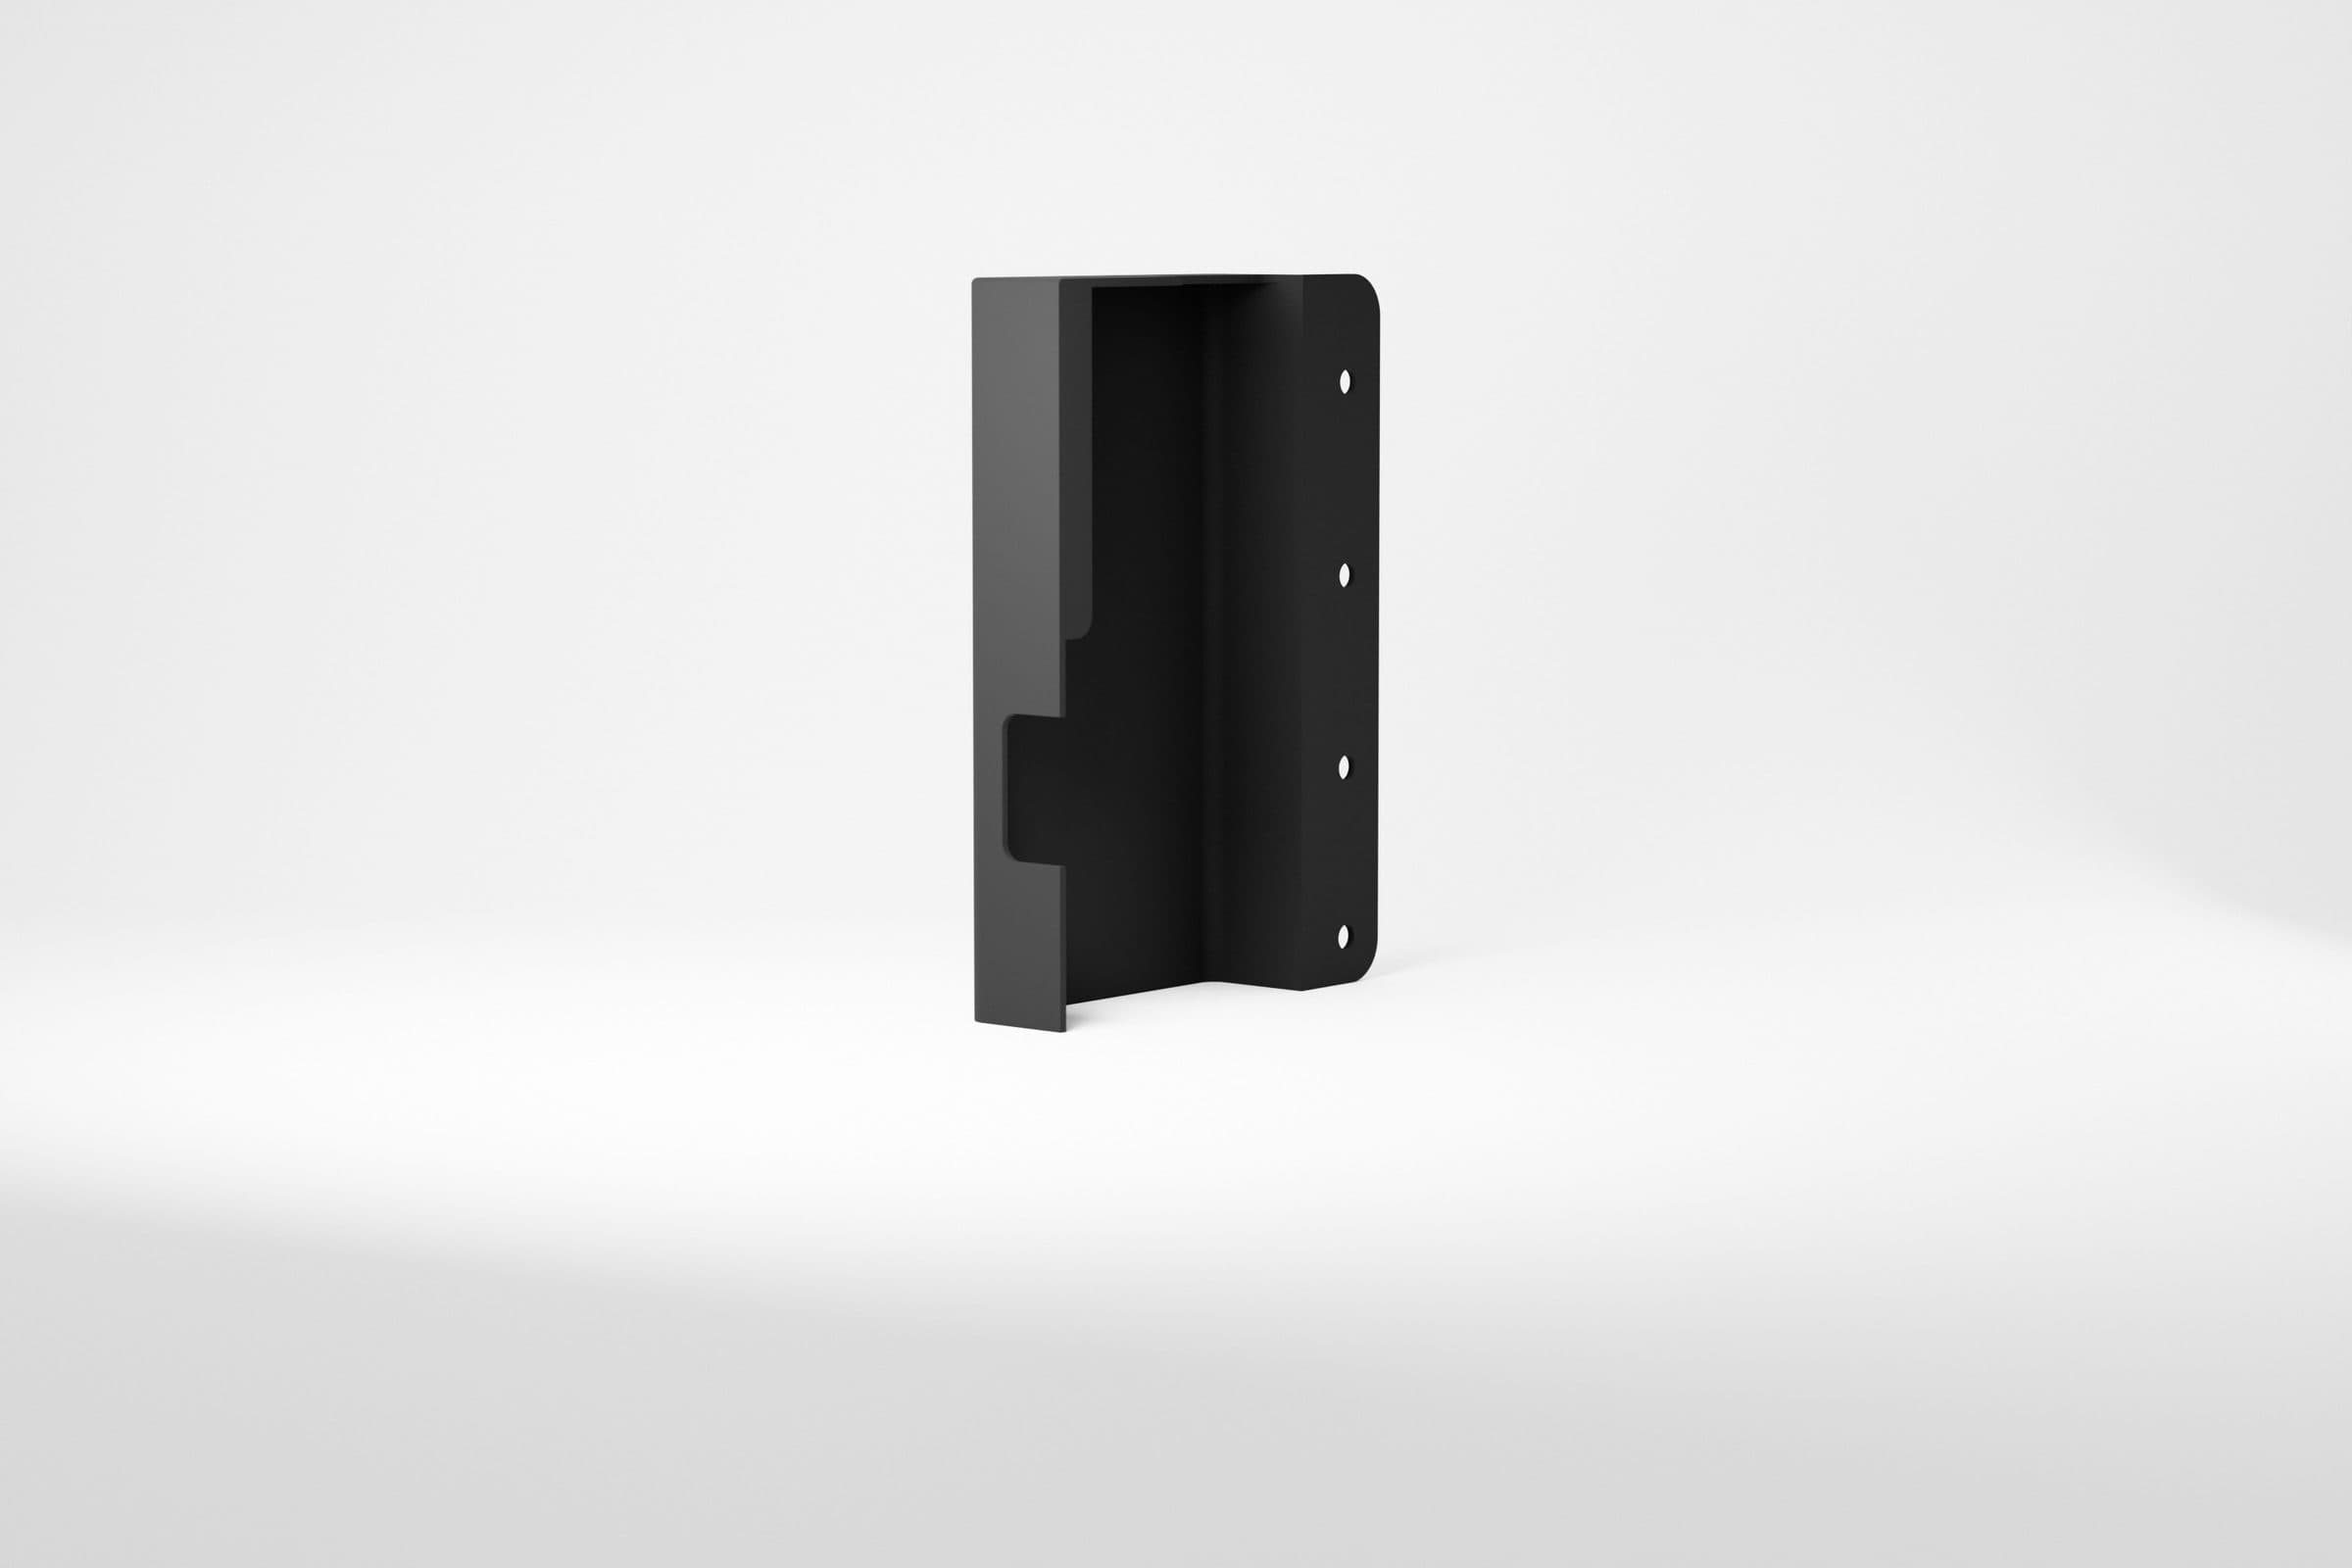
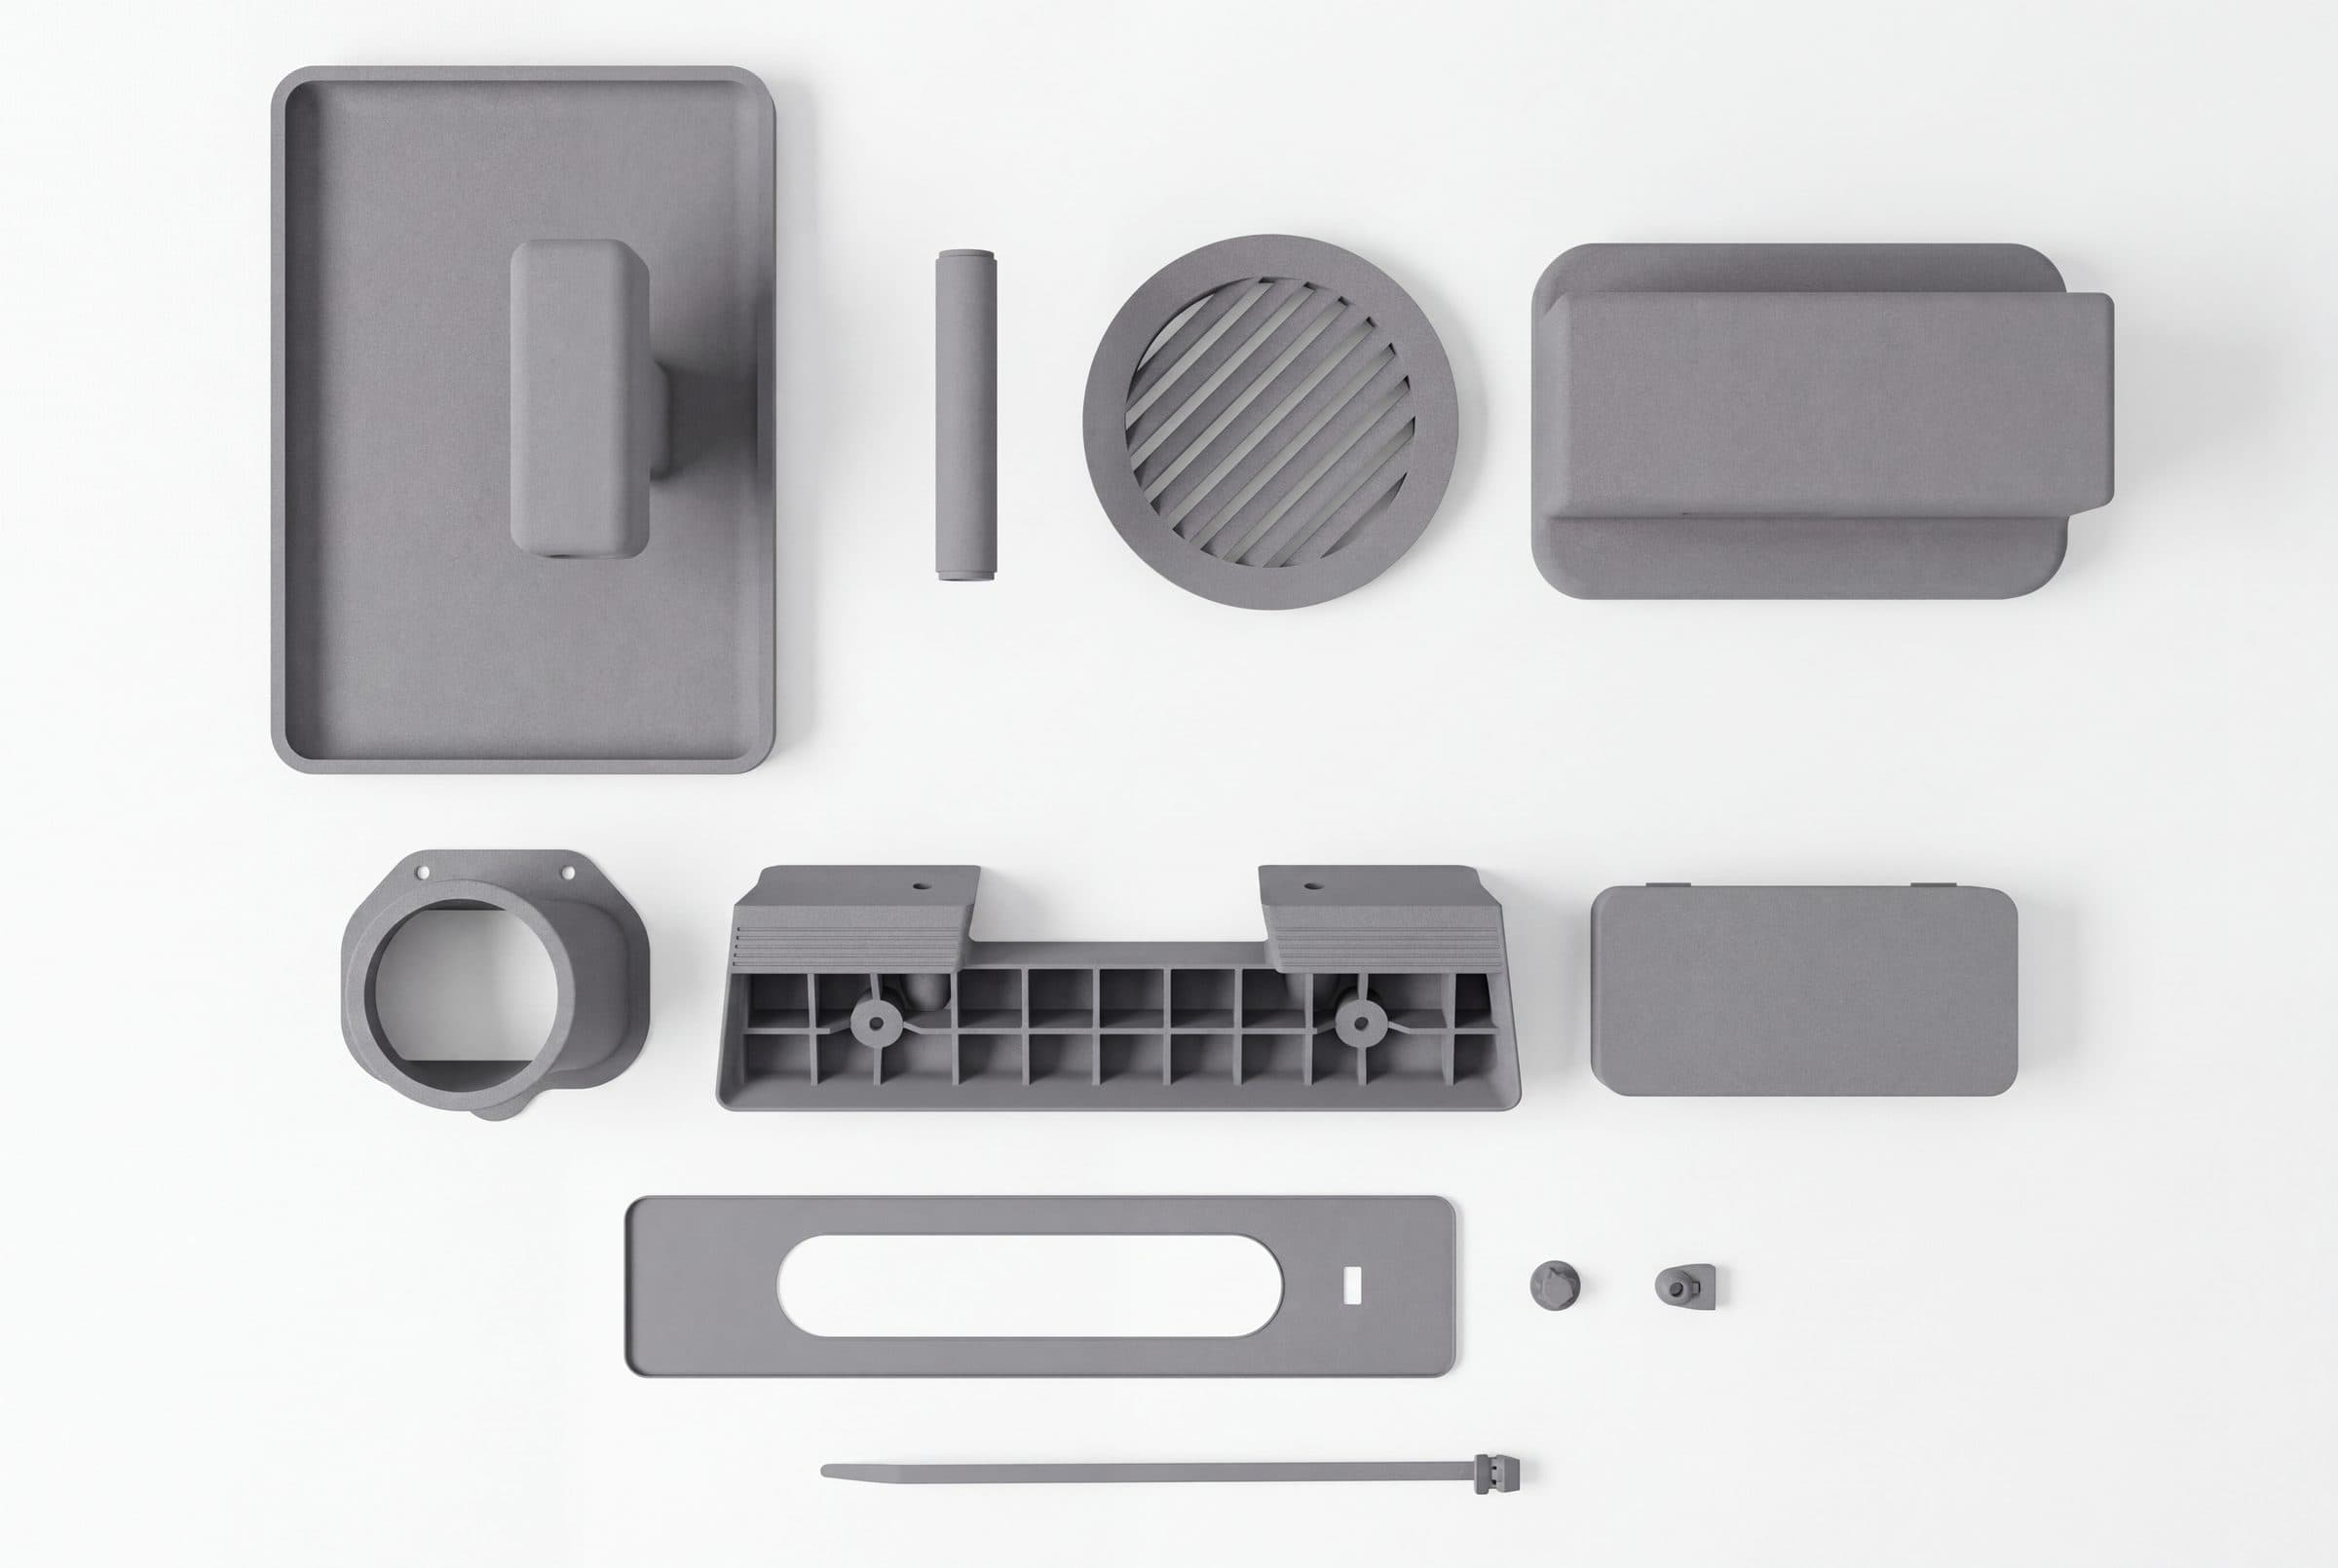
A test print before metal: a cheap mistake instead of an expensive one
The most expensive mistake is the one you only see after the part comes off the machine. A plastic print lets you catch it earlier, for a fraction of the cost.
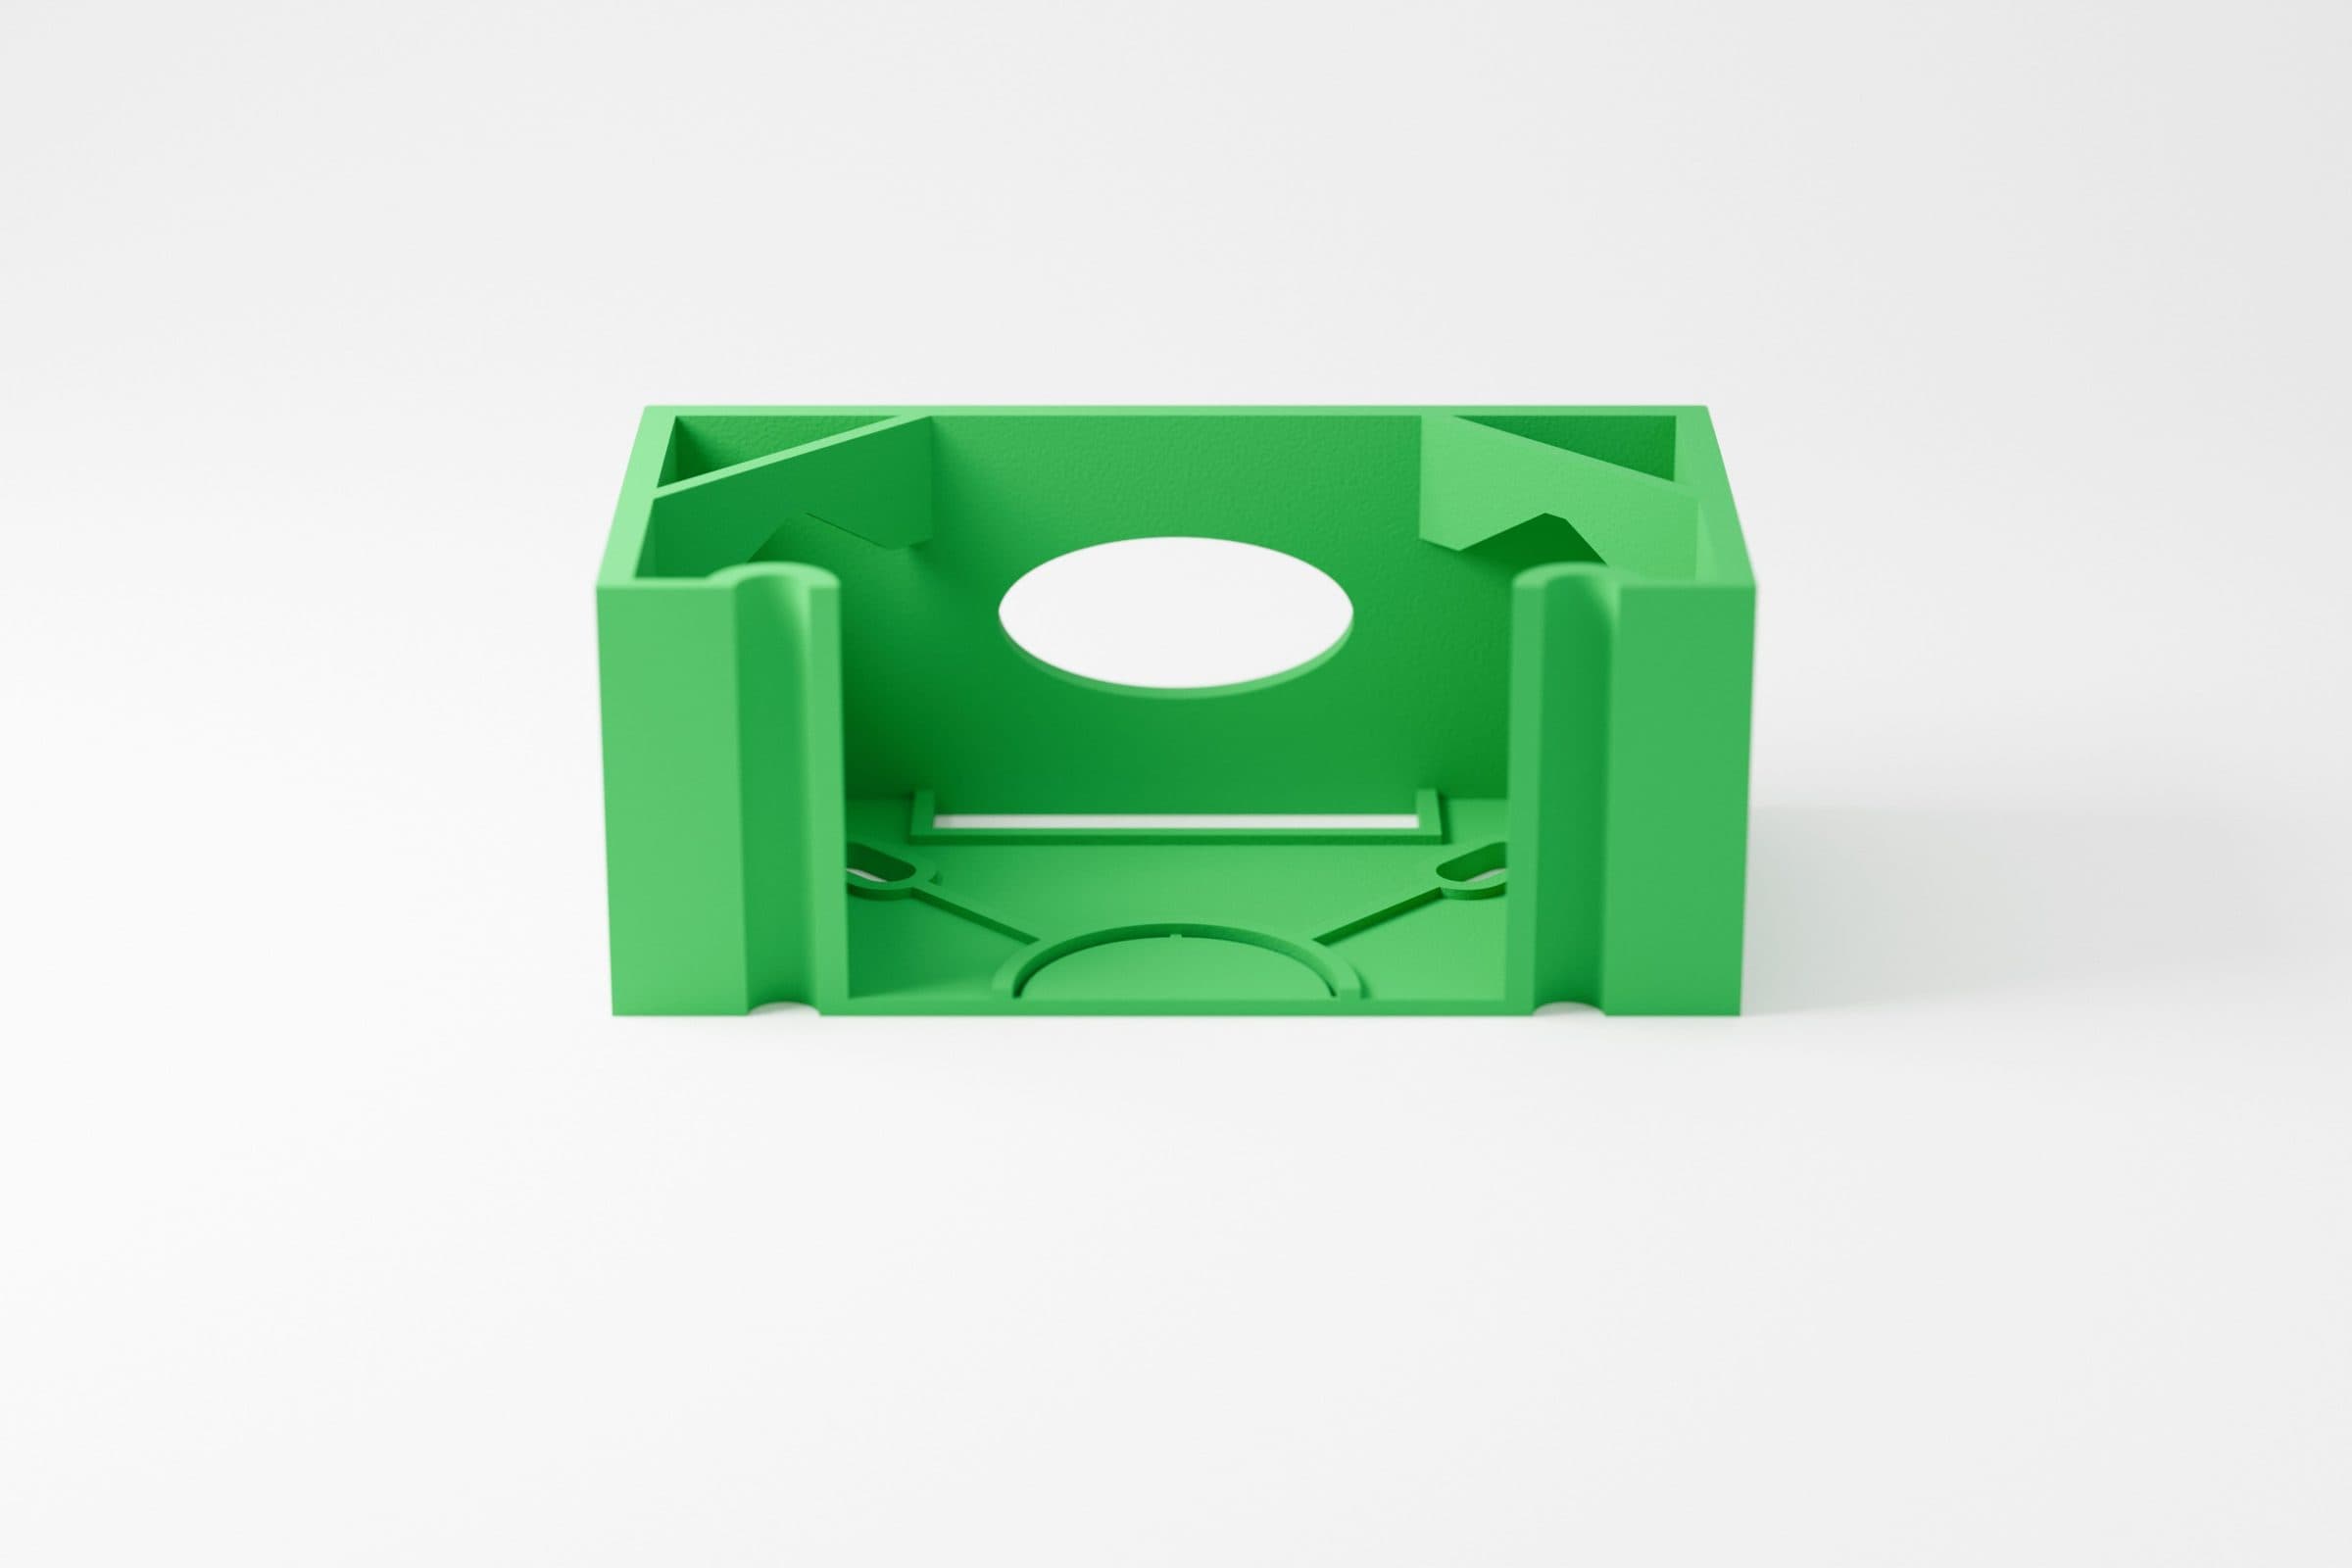
The most expensive mistake in a workshop is the one you only see after the part comes off the machine. Shifted hole spacing, a thread on the wrong side, a clash with the next part. A plastic 3D print lets you check all of that earlier, for a fraction of the cost and within days.
What a test print checks
- Fit: does the part go where it should, do the holes line up, does anything clash.
- Ergonomics: how a handle sits in the hand, whether a lever has the right travel, whether a knob turns with a glove on.
- Assembly: can the screws be tightened, does the connector fit, does the cable have a way out.
- Looks: proportions, lettering size, edge radii.
What it costs
Example: a blanking cover for a machine's light strip, 286 x 62.5 x 3.3 mm in PETG. The print takes about 16 g of filament and about 24 minutes of printer time. Add a dimensioned drawing for sign-off and print-ready files. The same part cut and milled from aluminium would not be expensive, but every correction in metal costs more than the whole print.
Iterations instead of one shot
A wall box for a four-XLR plate in a recording studio went through four versions in four days. Each one fixed something that only showed up at the test fit: depth for the plugs, cable openings, how the cable comes in along the wall. The final version hangs in the studio, with screws going into brass inserts.
Board handles for a kitesurfing brand went through 4 PETG prototypes, each tested and revised after the client's feedback. Only the final geometry was exported to STEP for production.
When the print is already the final part
If a part sees low forces, room temperature and no aggressive chemicals, the test print often stays in the machine for good. The Jeep Wrangler side step rebuilt from one damaged sample was fitted on the original bar and is on the road. When loads go up, the final version is CNC-machined in metal through our partner network, or made in PA12 polyamide on an industrial printer.
How we do it
- A test print in 2 to 4 days from the model.
- A test fit where the part will work, ideally together with you.
- Model corrections and the next print without a long wait.
- Only once the fit is confirmed: machining in metal.
How to start
If you have a part to remake or a design headed for CNC, ask for a test print before machining. On a first order it is the cheapest insurance we know.