Reverse engineering in practice: from a worn sample to production documentation
The machine works, but nobody has its files. Here is how we measure, what goes into the documentation, and why the documentation, not a single part, is the real asset.
Reverse engineering runs the usual process backwards: not from drawing to part, but from a physical part to a drawing. You need it when a machine works but nobody has its files, and it has to be repaired, replicated, or its parts ordered from a supplier.
When you need it
- A machine or fixture was built years ago and its documentation is lost, or never existed.
- The manufacturer is gone or will not share files, and parts have to be remade.
- The device has to be replicated, modified or moved to another process, for example from bent sheet to machining.
- You need laser cutting or CNC machining, and the shop needs files, not a physical sample.
How we measure
It starts with measurement: calipers, a micrometer, angle and thread gauges, and 3D scanning for freeform shapes. More important than the tool is knowing which dimensions are functional (hole spacing, a shaft fit, a thread angle) and which only come from the process the part was originally made with. The first we reproduce to tolerance; the second we can improve.
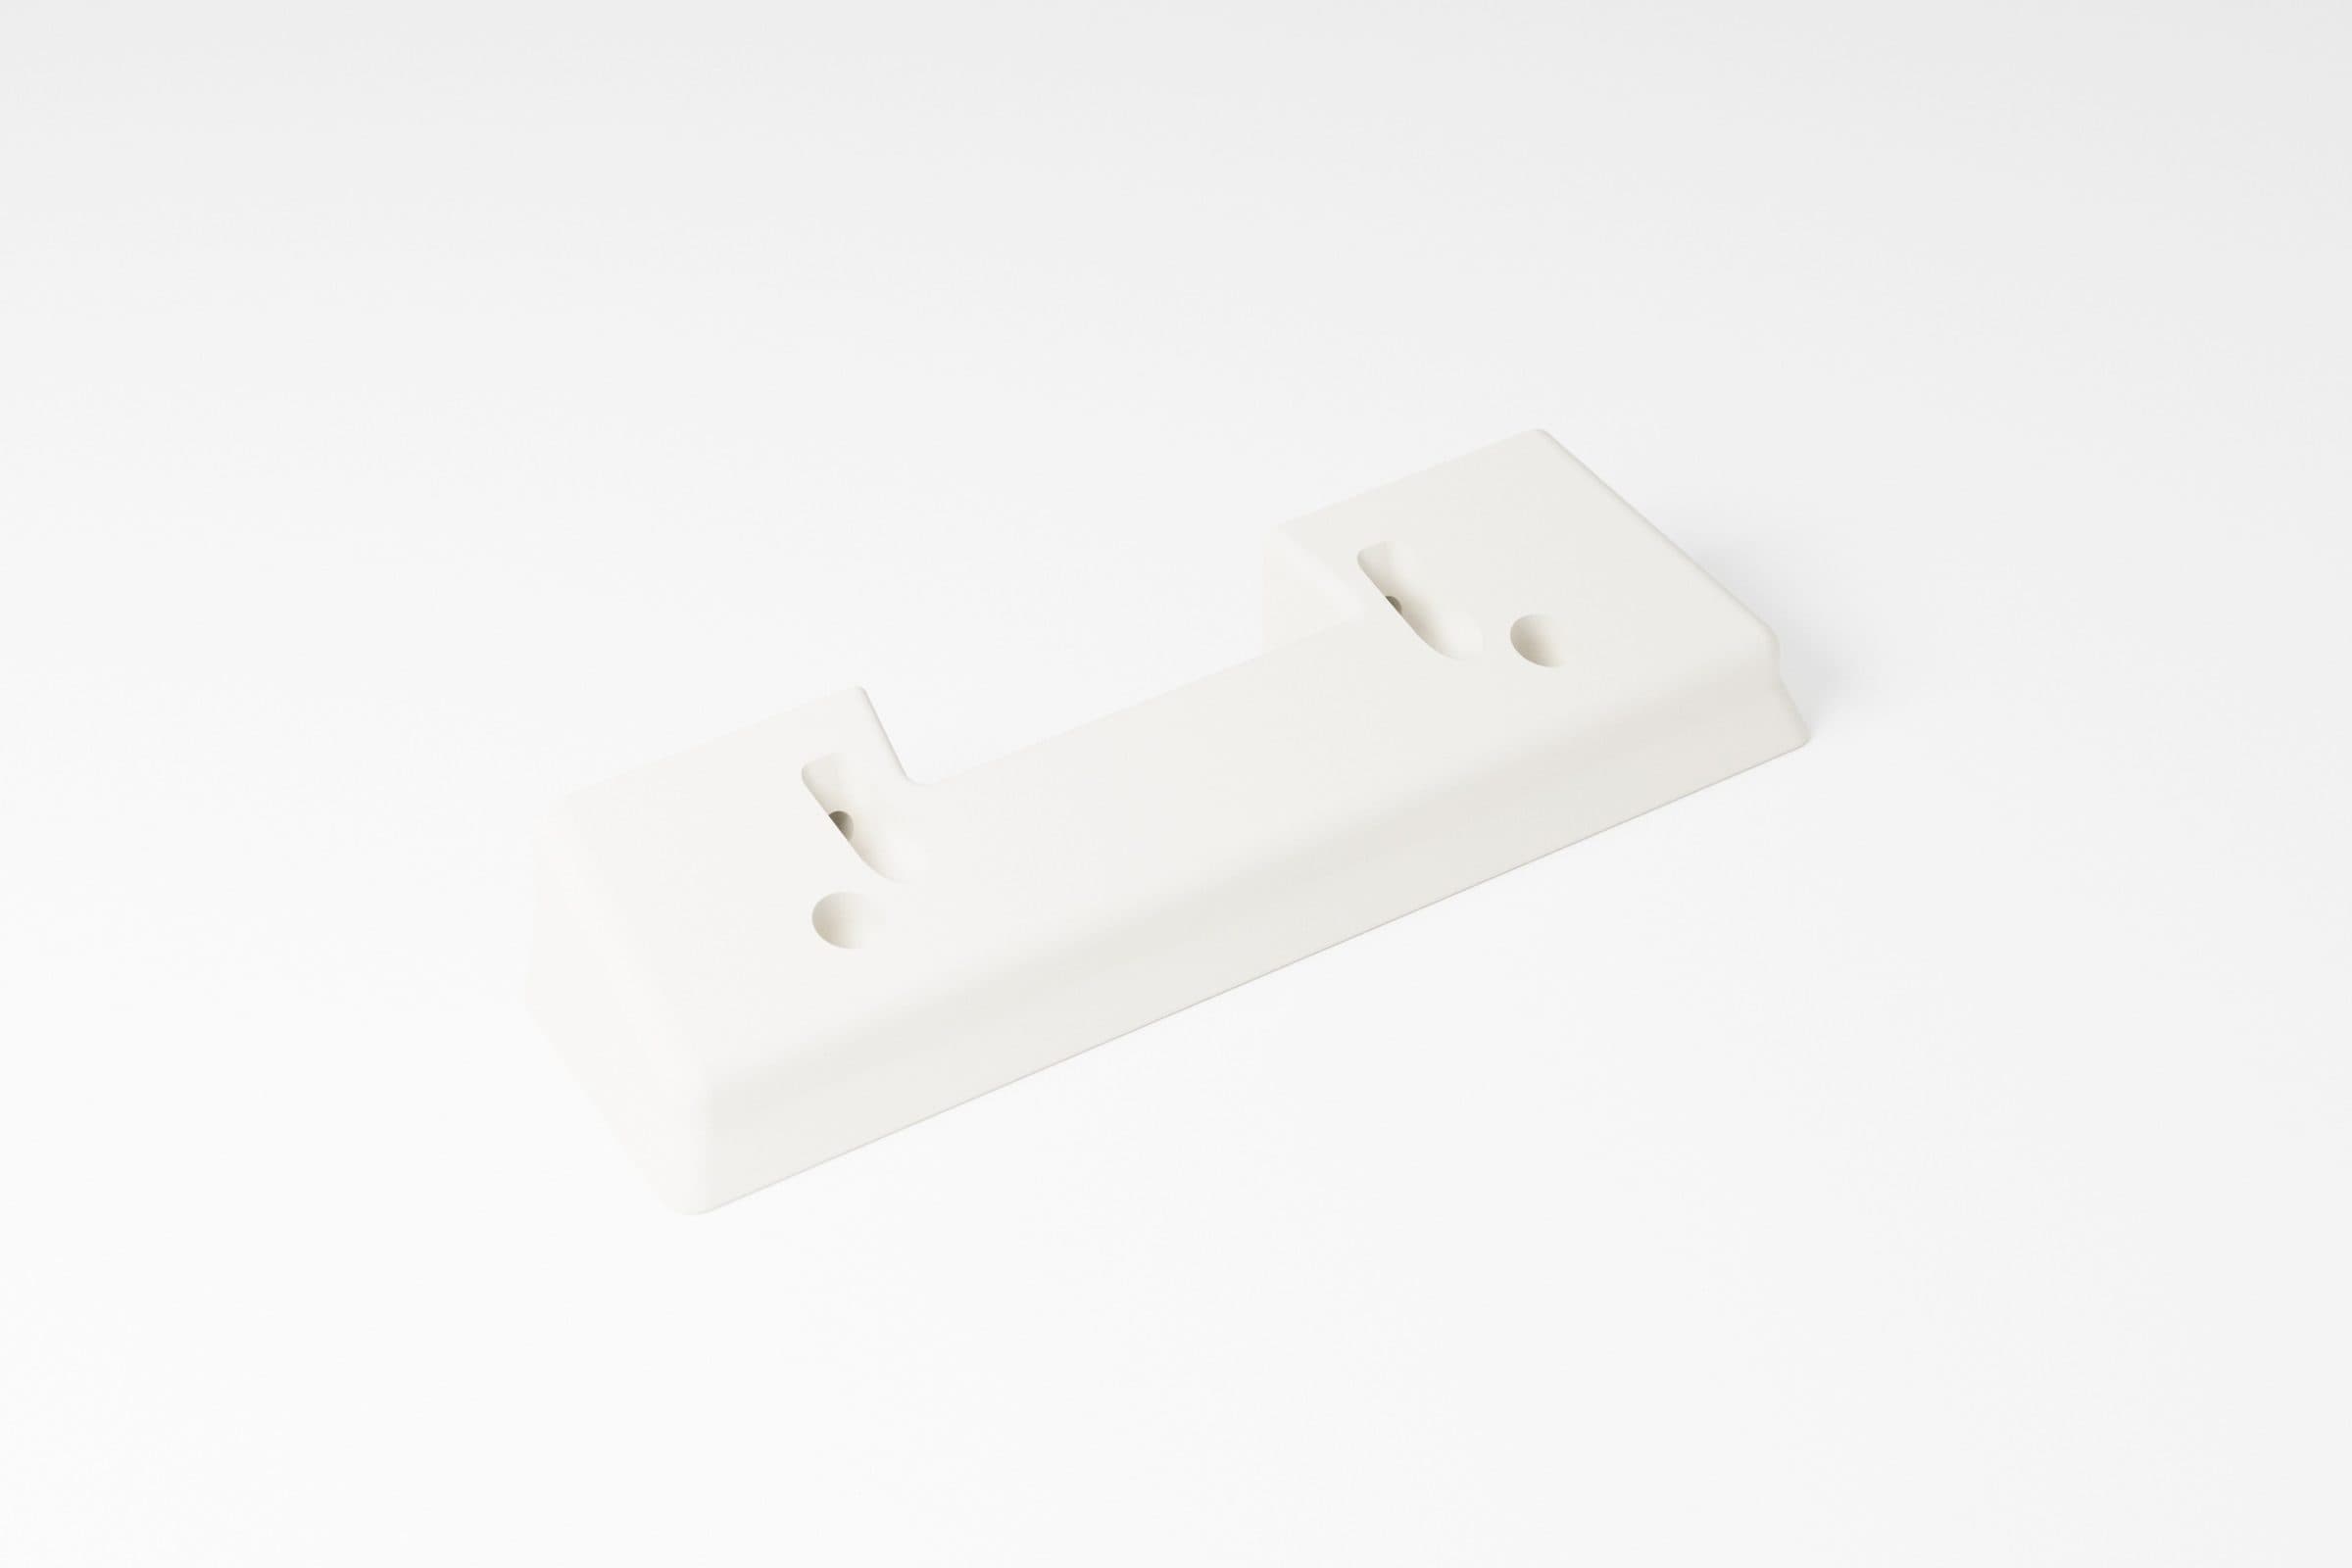
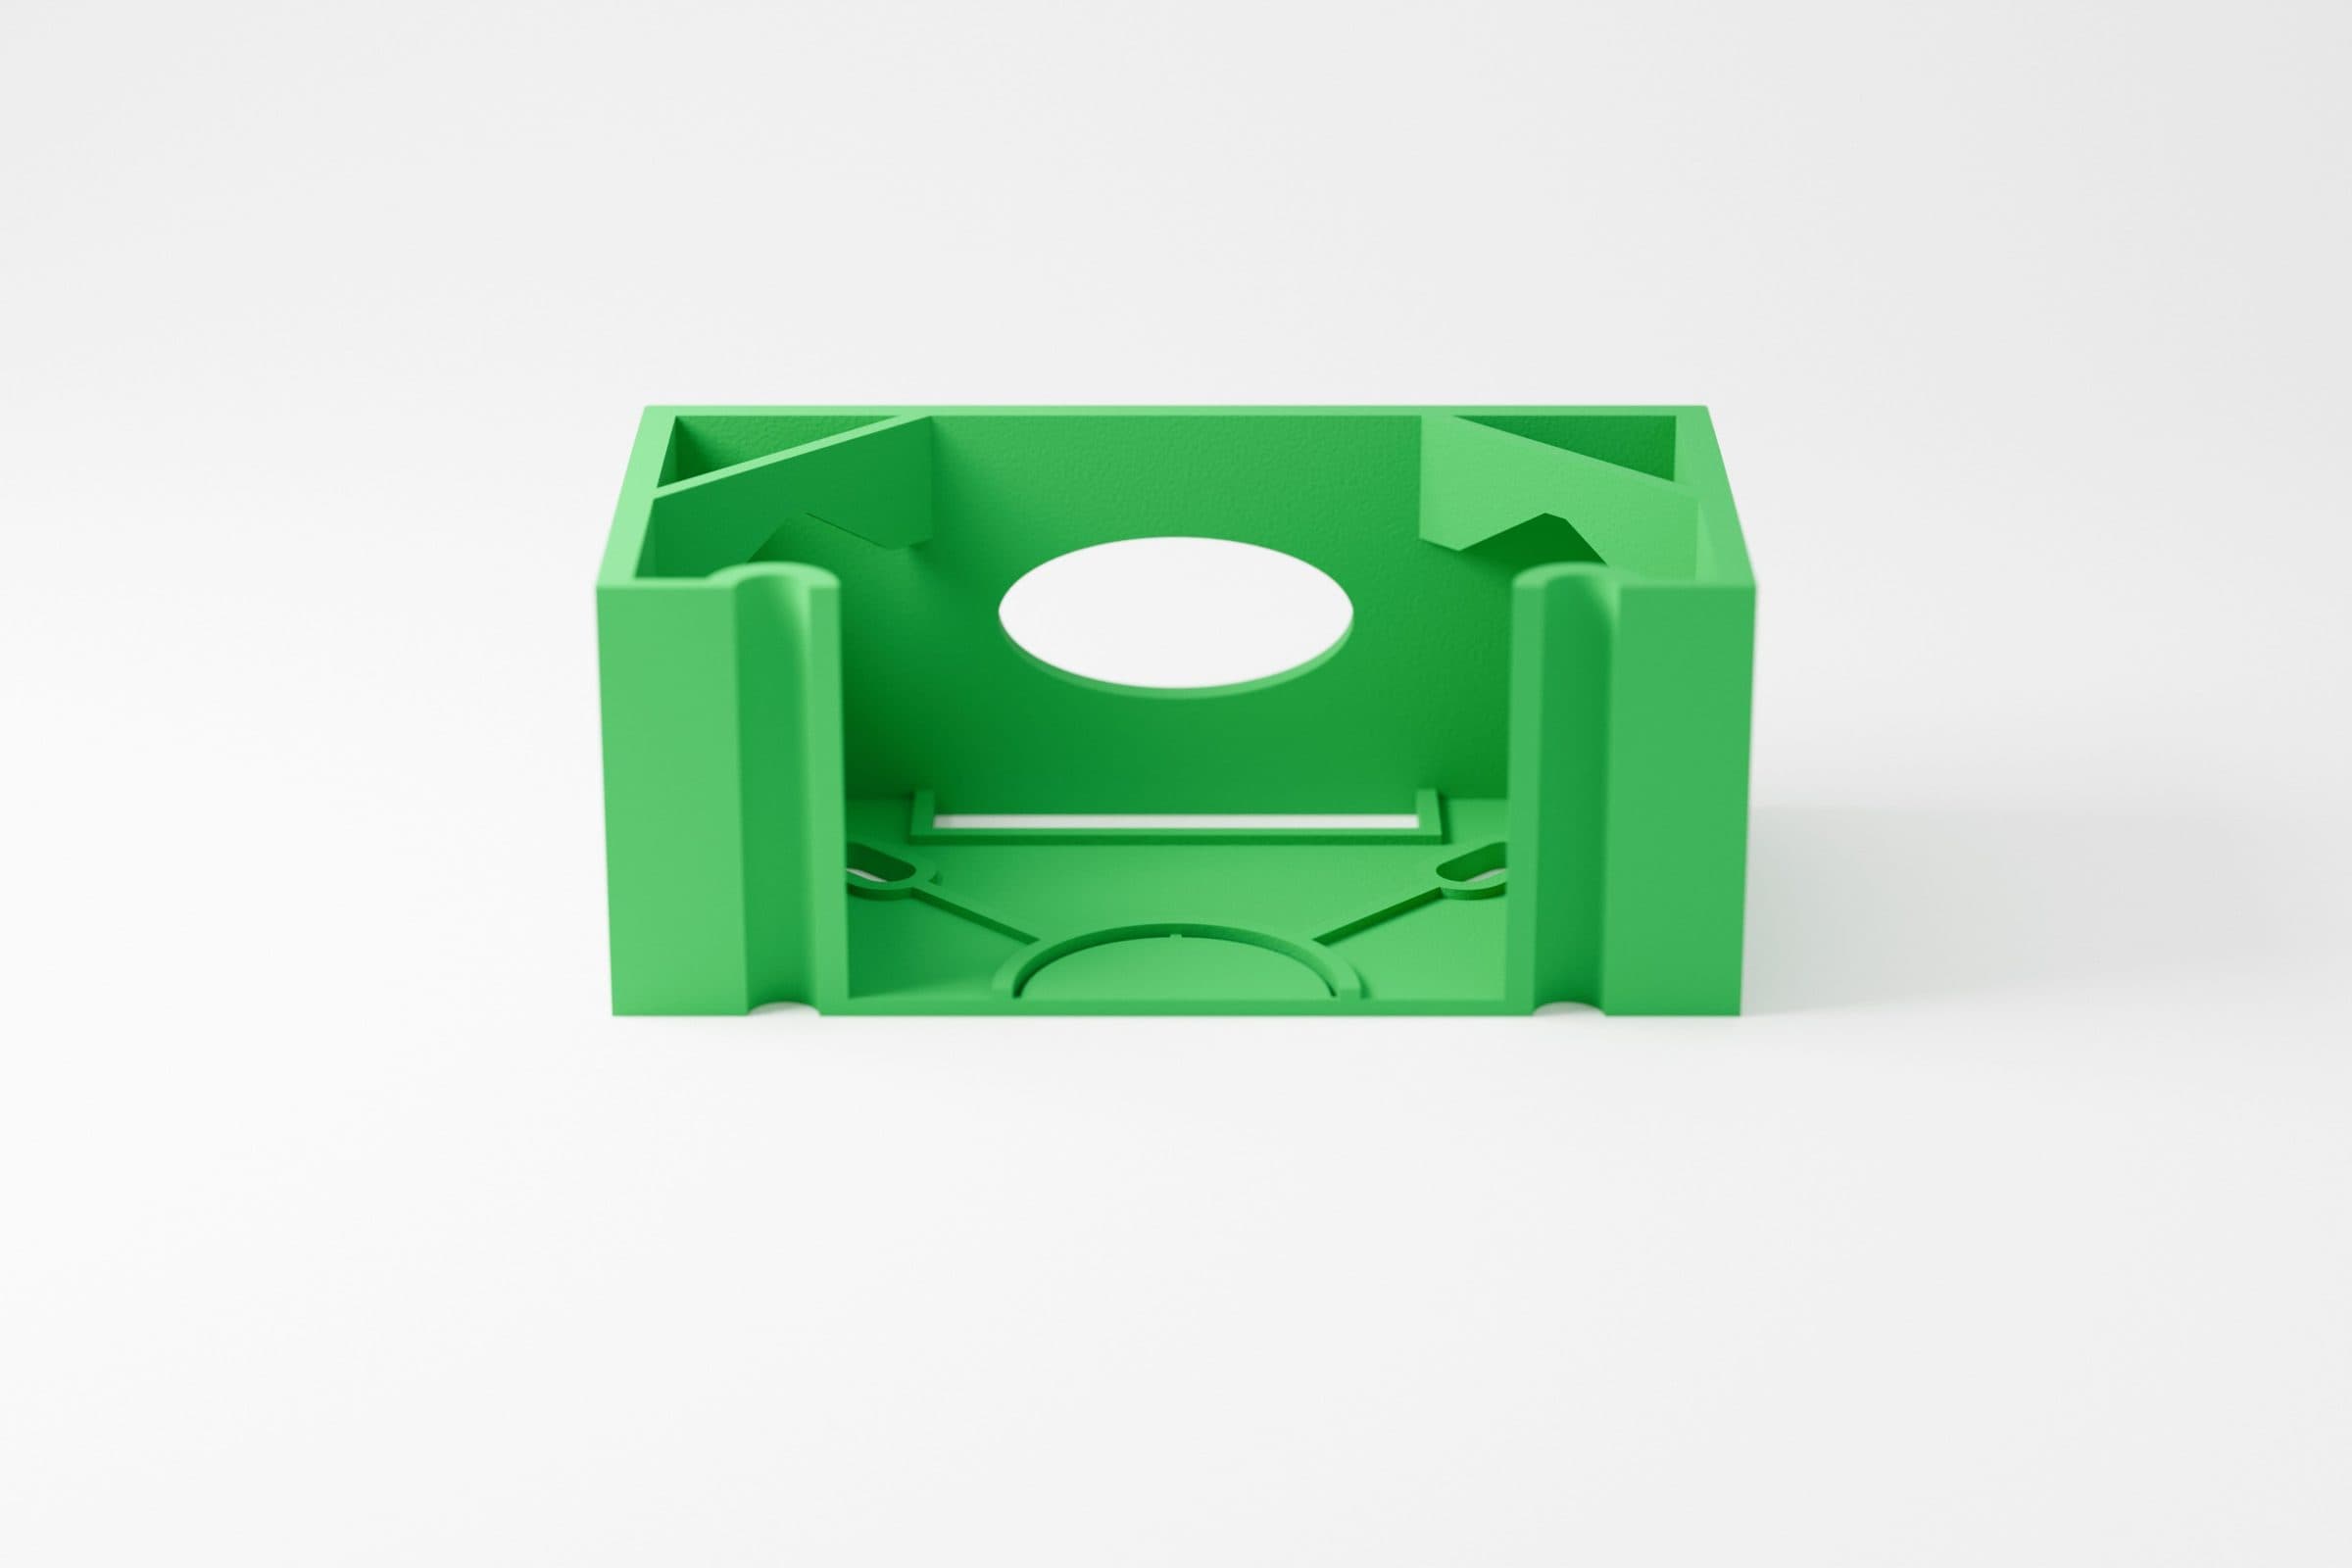
We check the model before anything goes to a machine. On the Pontiac armrest, the STEP geometry was checked with scripts: automatic hole detection, wall thickness and section checks. Only then did the test print go ahead.
What the documentation includes
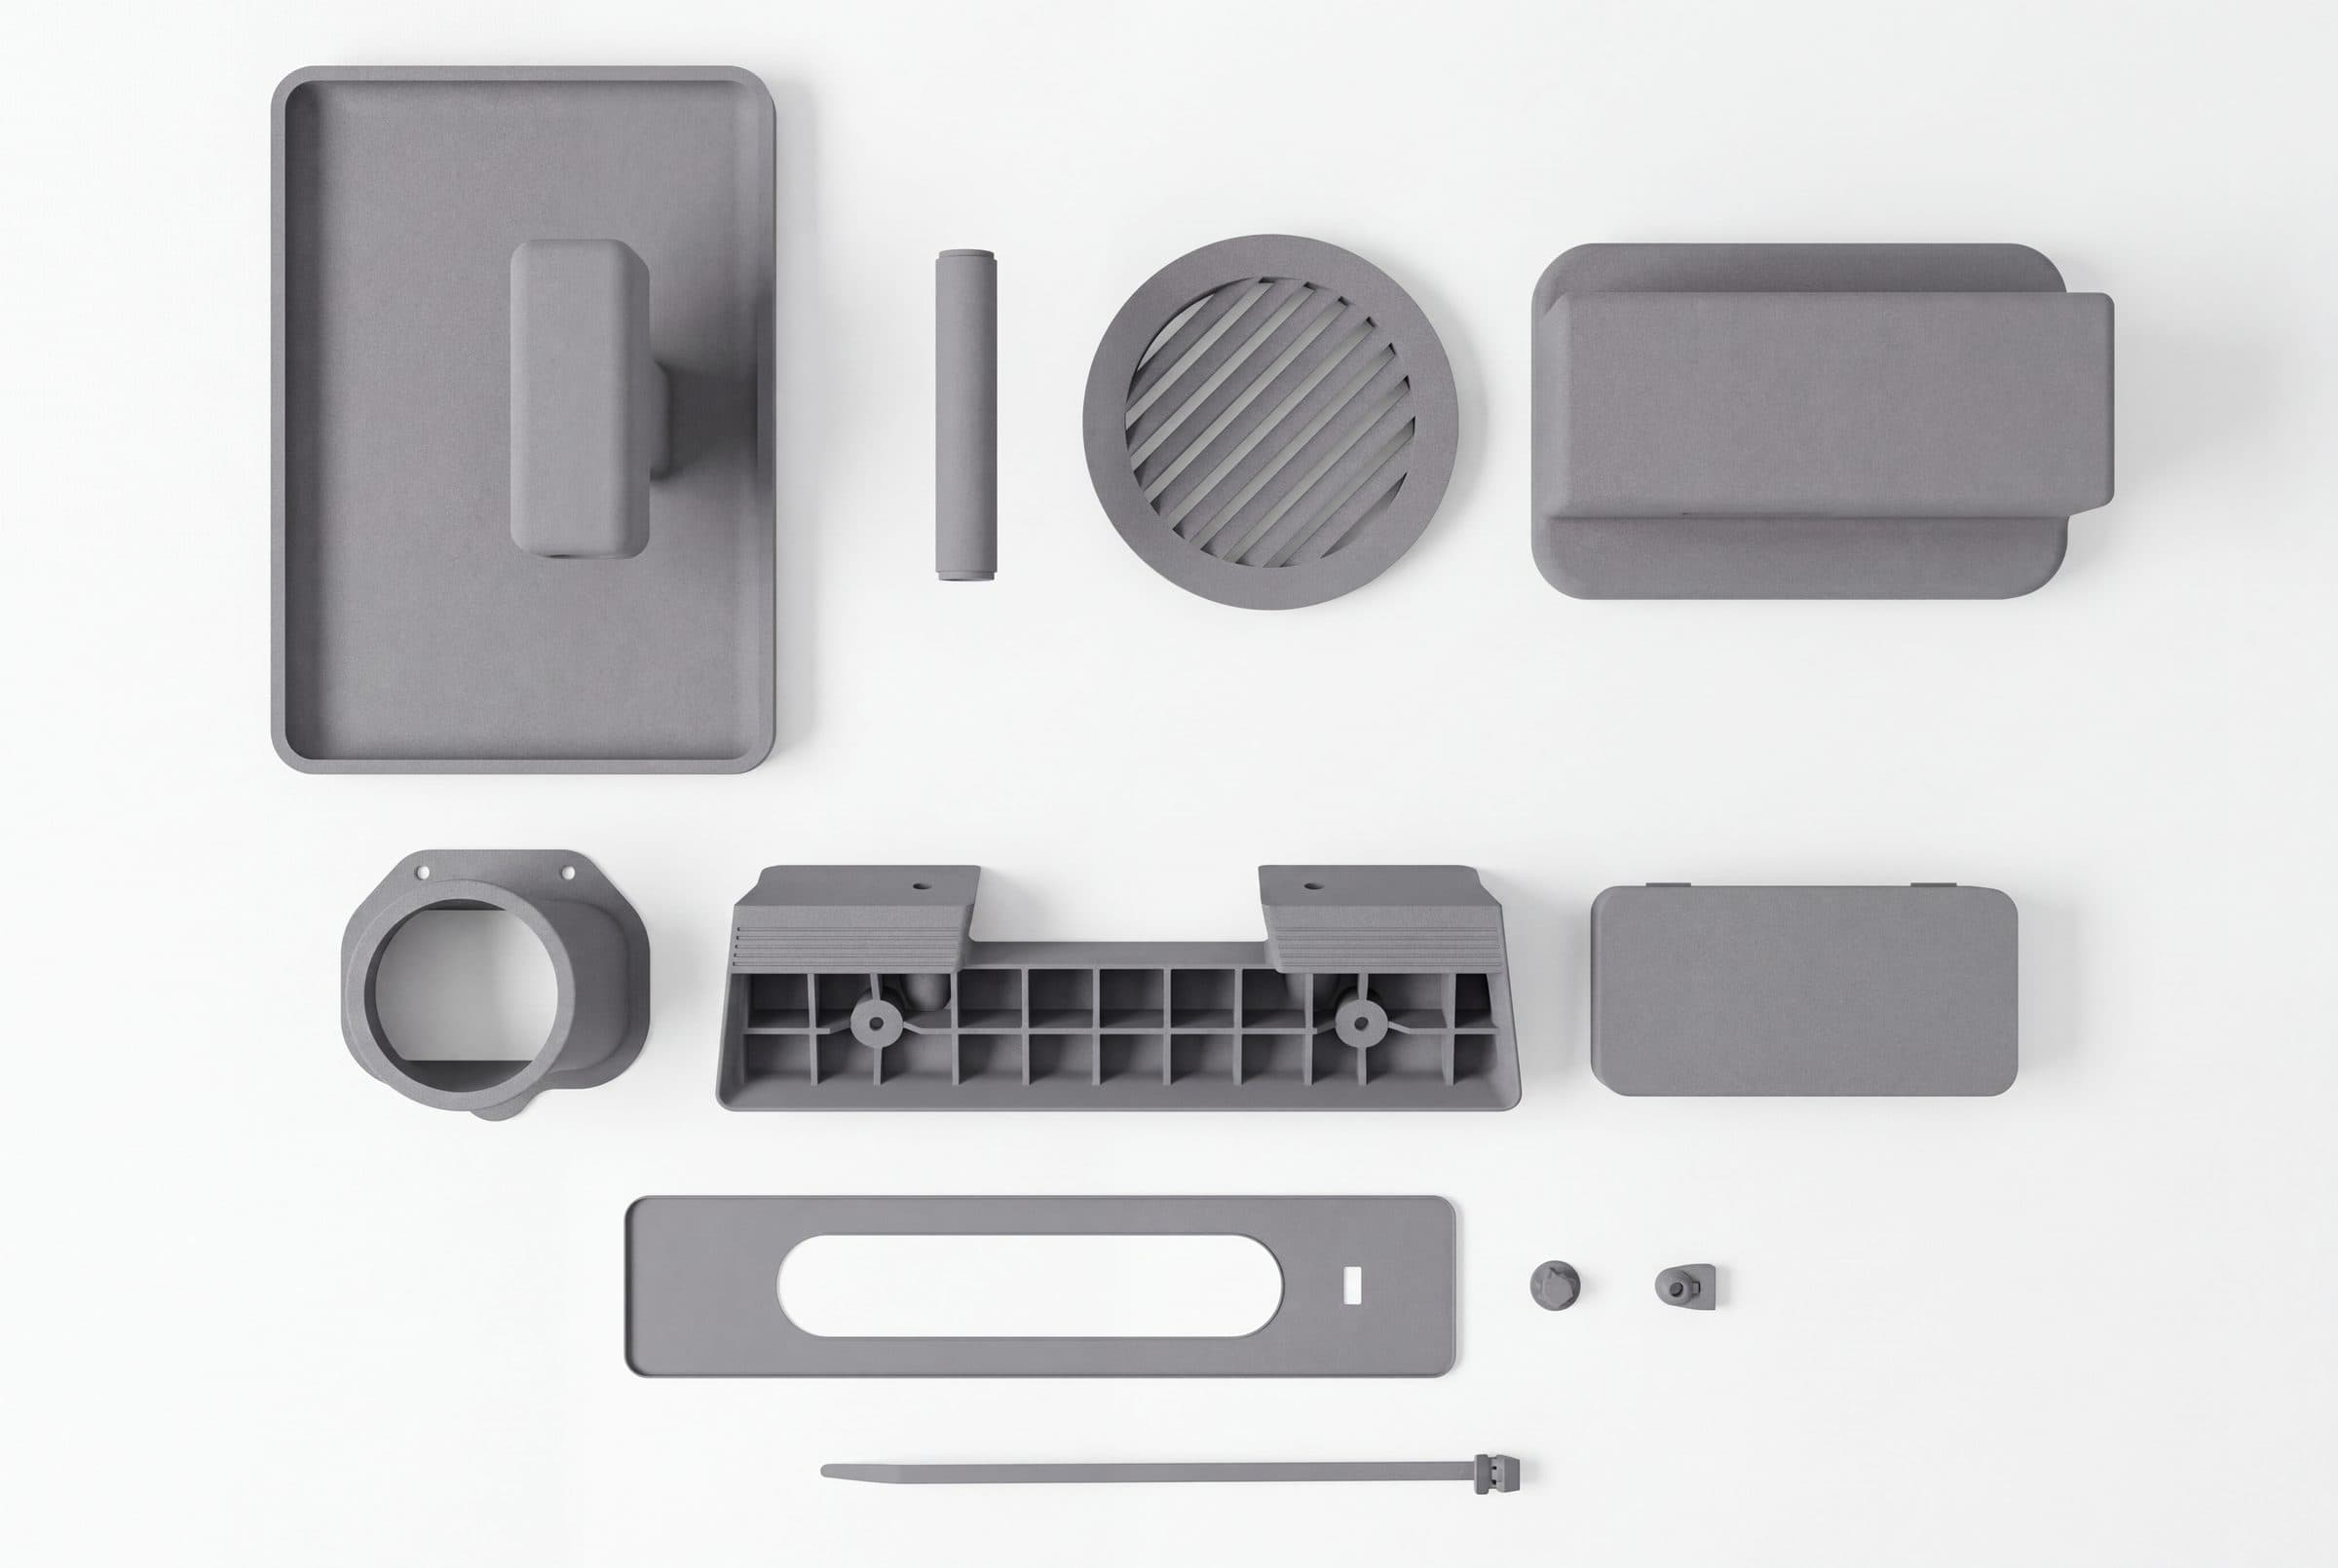
- 3D models in STEP format: every part separately plus the full assembly.
- DXF profiles for laser or waterjet cutting, if the device has flat parts.
- Dimensioned drawings (A3 or A4) with tolerances, sections, threads and counterbores.
- A bill of materials (BOM): material, thickness, quantity, fasteners.
Example: a flower-stem guillotine
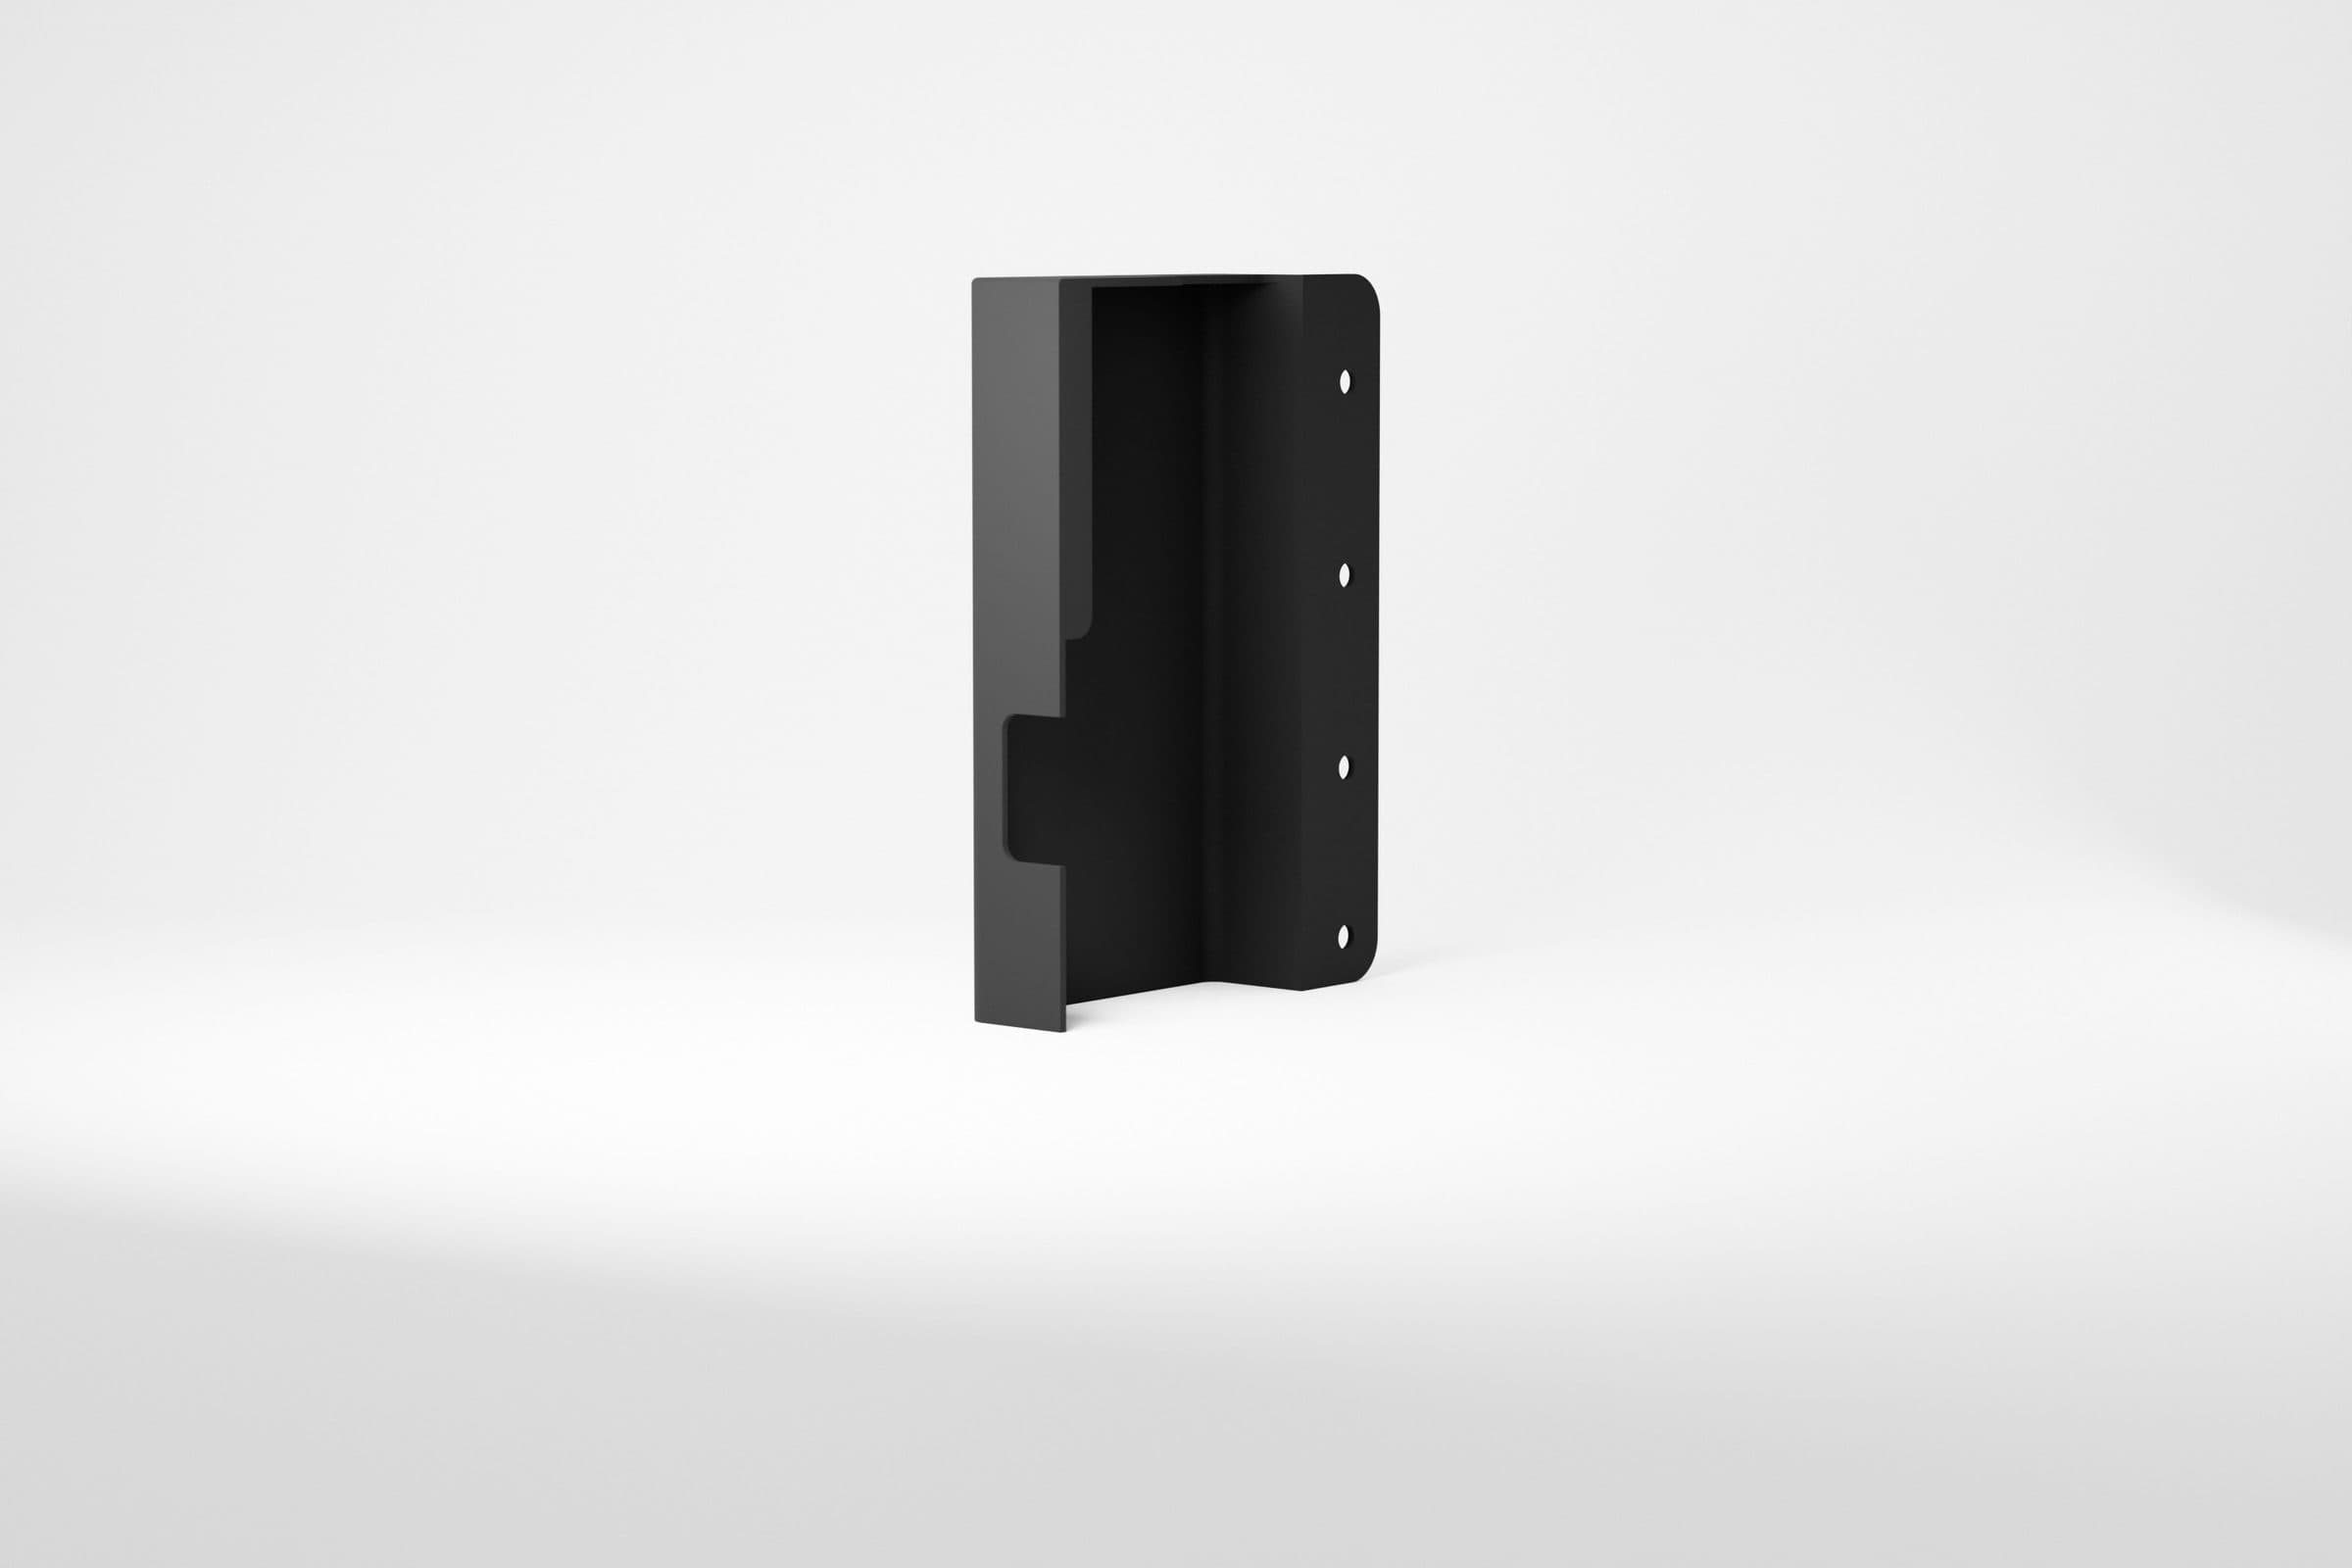
The client had a working machine with no documentation and wanted to replicate it, service it and order sheet-metal cutting. After disassembly and measurement we built a 12-part assembly: 4 to 5 mm plates, a 1 mm bent-sheet housing, M6 and M8 threads, the largest part 610 mm. The client received 13 STEP files, 6 DXF profiles for the laser, 6 dimensioned A3 drawings with sections and counterbores, and a bill of materials. From now on any part can be ordered without access to the physical machine.
Example: an armrest from 1964
A casting with no documentation, surviving as one worn piece. We rebuilt the sloped face, the 2 mm walls, ribs every 24 mm, two threads angled at 20 degrees and the screw bosses on the face side. The three A3 drawing sheets are generated straight from the model, so drawing and solid always match.
Why documentation is an asset in itself
A part can be made once. Documentation lets you make it again a year later, at another shop, in another material or in a revised version. For a CNC shop, a STEP file and a toleranced drawing are all it needs to quote and machine. For the machine owner, it means not depending on a single supplier.
How to start
Start with a photo and a note on what the documentation is for: a repair, a replica, a modification. We agree the scope and timing after seeing the part.